Hello, guys .. Sorry for my long absence.. my excuse is I've been dealing with my exams till yesterday. NOW i'm all finished ! super happy to be finally on vacation :D
I'll try to keep up as many posts as possible before my going back to Thailand ... YAY i'm gonna go back in Thailand, my hometown on MAY 24.. only more than 10 days >_<>
So let's get started .. This is my 1st how to on this blog ^_____^ I made it since the mid april but just have time to post it on here.
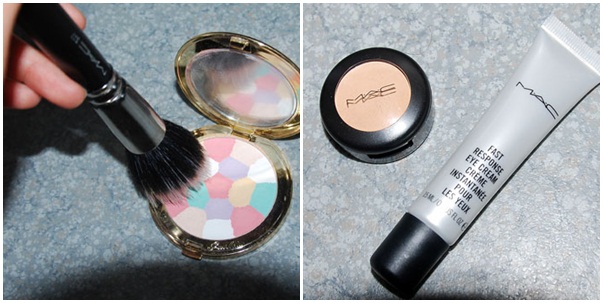
Then, I applied Guerlain meteorites poudre pressé voyage on top and MAC fast response eye cream as my undereye base before applying concealer
I found that MAC fast response eye cream works well for undereye base but it doesn't help to improve any of your dark circles or puffiness
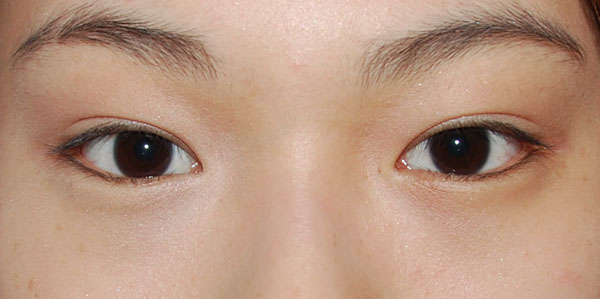
the difference between the concealer on my right eye and without it on my left eye
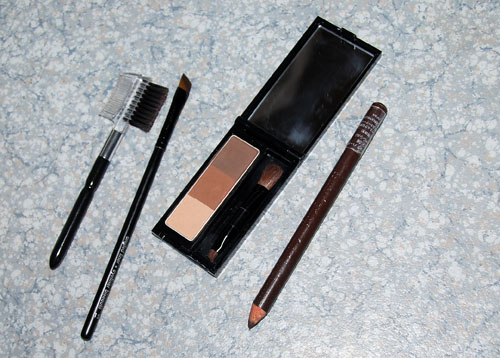
tools for the eyebrows !
my eyebrows are not perfect.. but I like them the way they are (actually, I kinda don't have idea which shape of eyebrows would make me look better so I keep the natural shape) I like them to be thick as well because thick eyebrows'd make you look younger lol

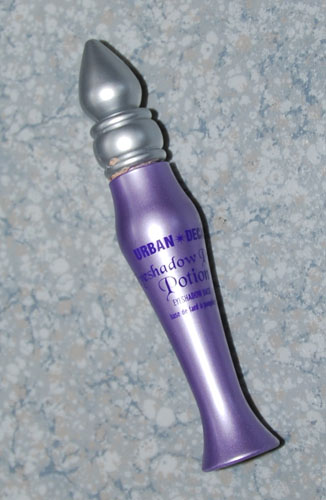
Since, my double lids are hidden, and my eye makeup is always creasing so I need an eye primer to prevent it. Urban Decay primer potion is the first eye primer I've tried and I fell in love with it !
Now moving on eyeshadows !
Apply NYX jumbo eyeshadow pencil #cottage cheese as eye colour base
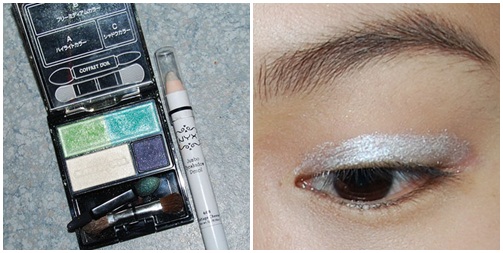
Then apply the white eyeshadow on top of it and blend out over your lids
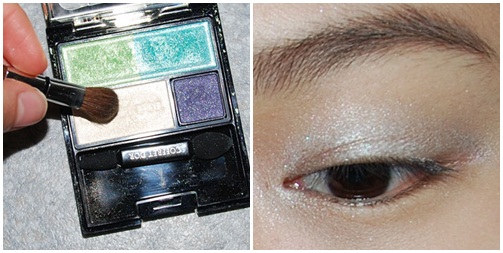
Apply the dark violet colour as eyeliners. I just applied it just half of my eyeliners.
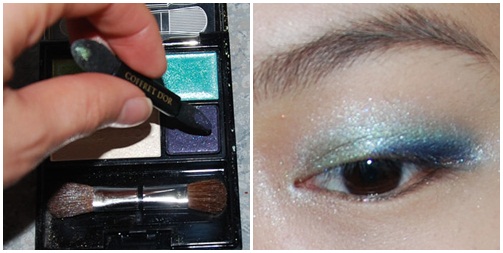
Put a little more of dark violet colour to give more dimension of your eyes
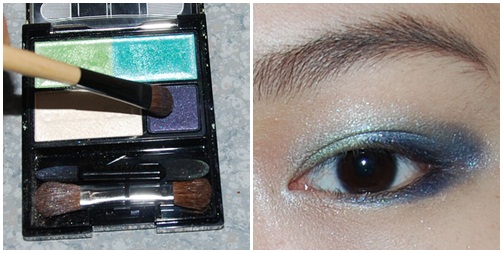
Then Blend it away for the softer look
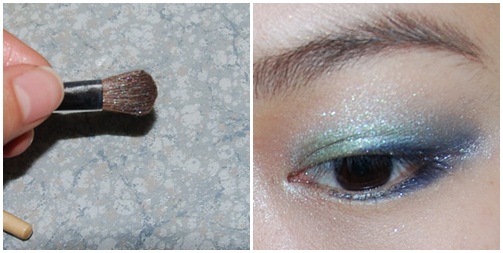
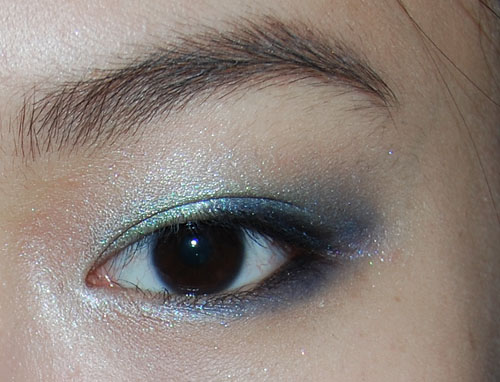
For Highlighting the brow bone, I used the same white pearl eyeshadow on it.
ใช้ kate designing eyebrow สีน้ำตาลกลาง ทำเฉดดิ้งจมูก เพิ่มดั้งที่หายไป ให้กลับคืนมา(นิดหน่อยก็ยังดี ^^')
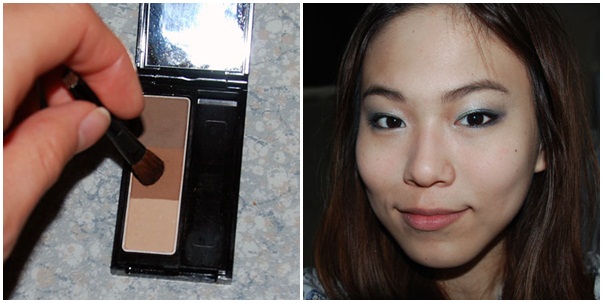
Then apply the kate designing eyebrow for shading your nose, This will give more dimension of the bridge of the nose..
Apply highlight on the face. I used Shiseido The makeup luminizing powder.
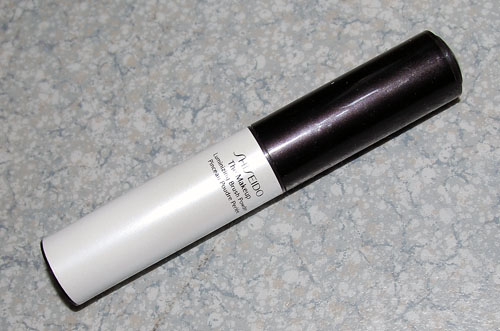
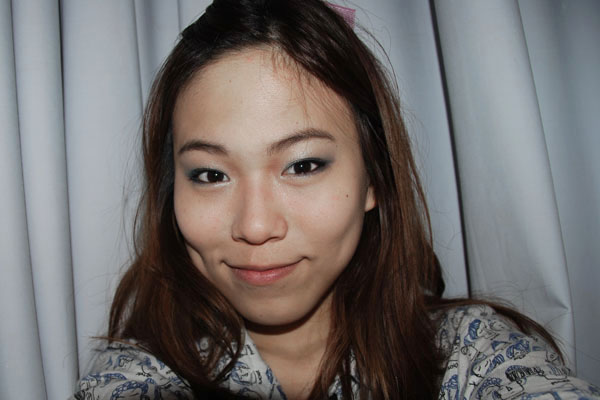
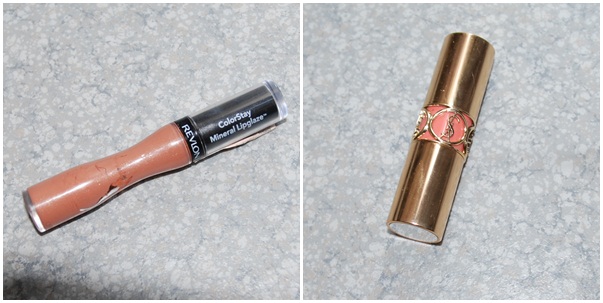
For the lip colours, I used revlon #neverending gloss and YSL #30 Faubourg Peach
If you want more sunkissed look, add the NARS orgasm blush on your cheeks .. It will add a sweet on this look too
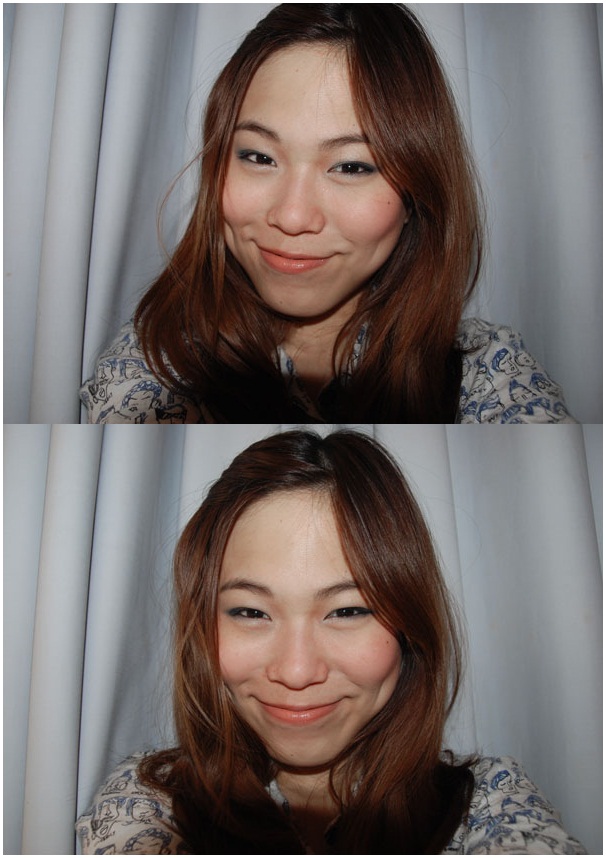
But these belows were taken by my camera compact and it's the finish look with NARS luster on
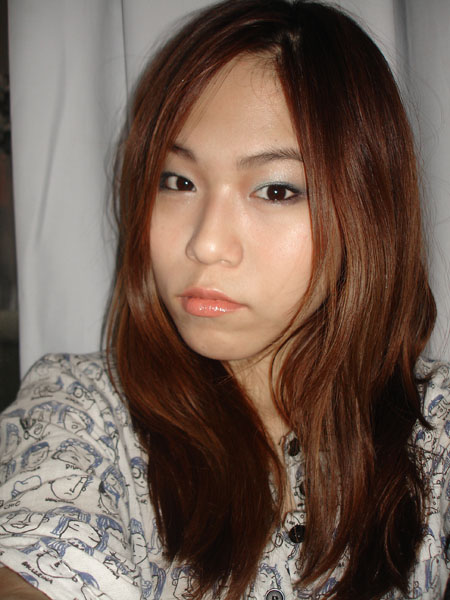
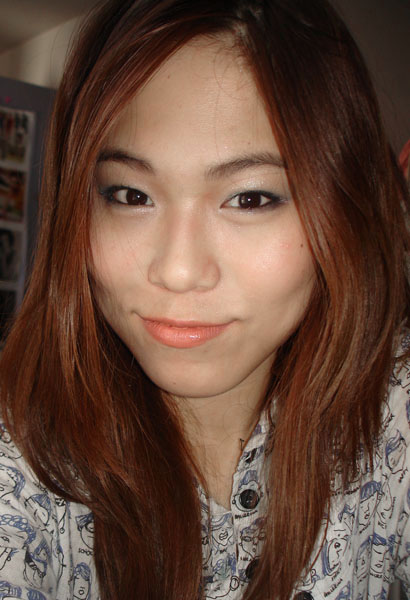
So let's get started .. This is my 1st how to on this blog ^_____^ I made it since the mid april but just have time to post it on here.
And just so you guys know, I'm not a makeup guru, Makeup is just something I love doing, that's all. But I am always willing to learn .. your advice are more than welcome :D
Products used in this how to :
EYES
Urban Decay Primer Potion
Coffret d'or palette #02 Blue green
NYX jumbo eyeshadow pencil #608 cottage cheese
l'oreal telescopic clean mascara
MUFE aqua eyes 0L
EYEBROWS
Kate designing eyebrow kit
shu uemura eyebrow pencil
LIPS
YSL #30 Faubourg Peach
Revlon #505 neverending
CHEEKS
NARS luster
NARS orgasm
FACE
Guerlain meteorites voyage
Lunasol liquid modeling foundation
MAC fast response eye cream
MAC studio finish concealer
Shiseido the makeup Luminizng brush powder
High Beam Benefit
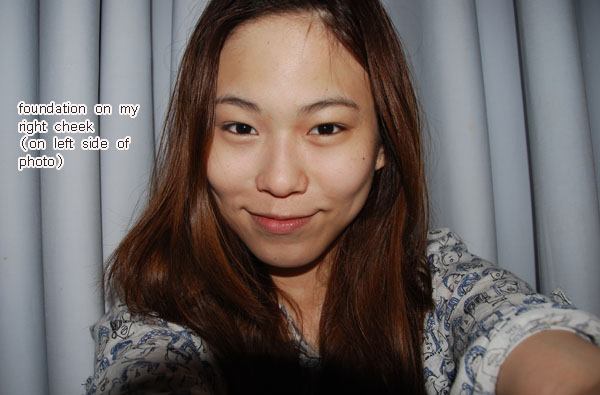
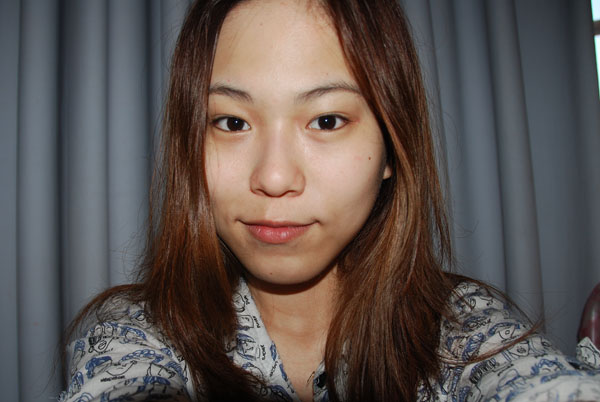
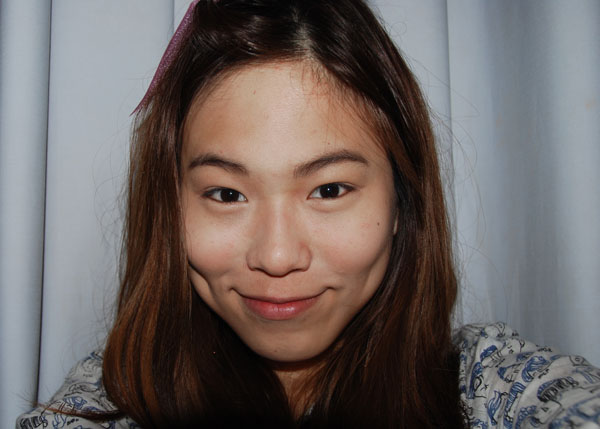
my bare face with all skincare on

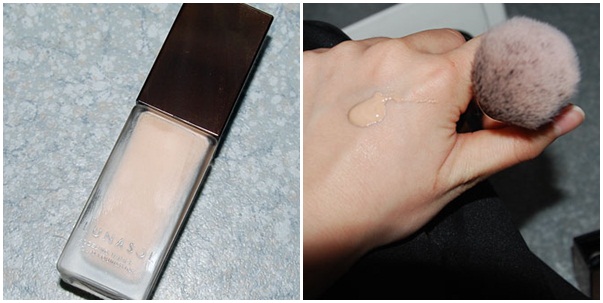
For foundation in Summer time, i'd like to use something light and Lunasol foundation is really a good choice for that. I applied it with my kabuki brush.
However, I think the shade is not right for my skintone.. .. The SA got me in pink undertone OC but I think I will buy another one in Yellow undertone YO and switch to the cream version.


Then, I applied Guerlain meteorites poudre pressé voyage on top and MAC fast response eye cream as my undereye base before applying concealer
I found that MAC fast response eye cream works well for undereye base but it doesn't help to improve any of your dark circles or puffiness

the difference between the concealer on my right eye and without it on my left eye

tools for the eyebrows !

my eyebrows are not perfect.. but I like them the way they are (actually, I kinda don't have idea which shape of eyebrows would make me look better so I keep the natural shape) I like them to be thick as well because thick eyebrows'd make you look younger lol
Befor filling in my eyebrows, I used eyebrow pencil to redefine the shape of them... this way it will also make your eyebrows stay longer.

Eyebrows finished !
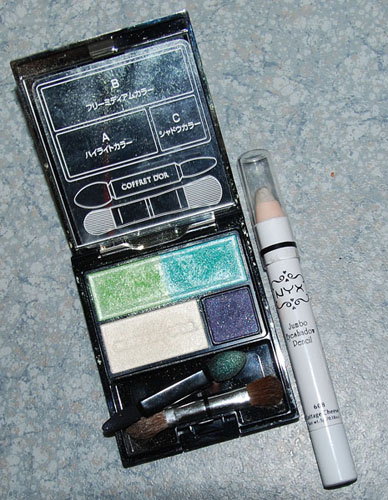
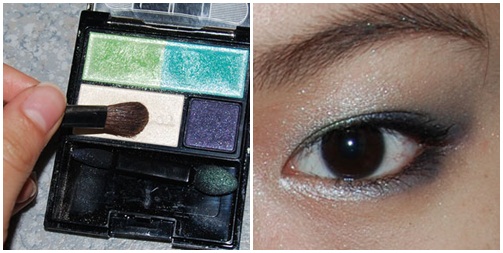
And this is the palette I used It's from Coffret d'or #02 Blue Green Mix from Summer Collection 2009. Next to it is the jumbo eyeshadow pencil from NYX #cottage cheese which i used as eye colour base.

And this is the palette I used It's from Coffret d'or #02 Blue Green Mix from Summer Collection 2009. Next to it is the jumbo eyeshadow pencil from NYX #cottage cheese which i used as eye colour base.

Since, my double lids are hidden, and my eye makeup is always creasing so I need an eye primer to prevent it. Urban Decay primer potion is the first eye primer I've tried and I fell in love with it !

Apply NYX jumbo eyeshadow pencil #cottage cheese as eye colour base

Then apply the white eyeshadow on top of it and blend out over your lids

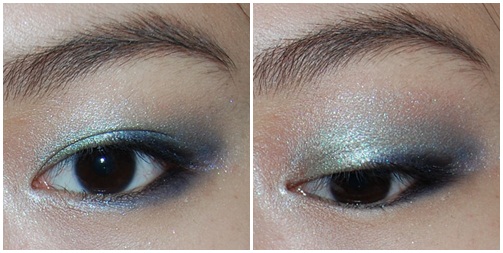
Put the green color started on inner corner along the eye ball .
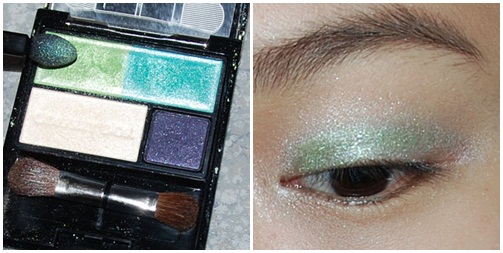
apply the azure colour on outer corner of your lids
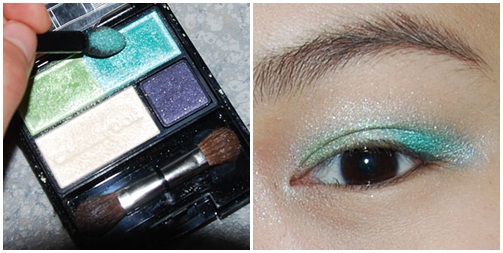
and then blend them together ..
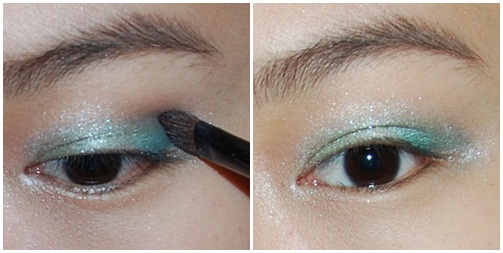

apply the azure colour on outer corner of your lids

and then blend them together ..

Apply the dark violet colour as eyeliners. I just applied it just half of my eyeliners.

Then apply the rest of it on your outer lower lash line and put the azure colour on the middle to connect it.
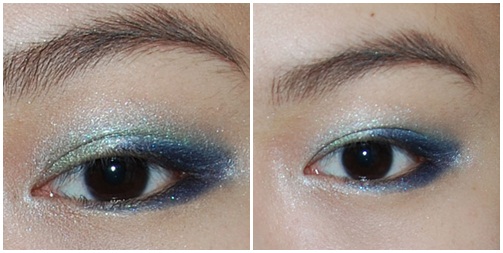

Put a little more of dark violet colour to give more dimension of your eyes

Then Blend it away for the softer look

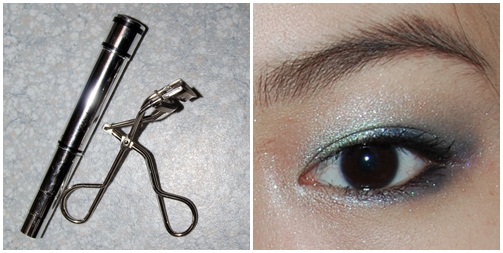
Apply the eye liner pencil on the lash line. Here, I used MUFE Aqua Eyes 0L


Then curl your lashes and apply your mascara

For Highlighting the brow bone, I used the same white pearl eyeshadow on it.

ใช้ kate designing eyebrow สีน้ำตาลกลาง ทำเฉดดิ้งจมูก เพิ่มดั้งที่หายไป ให้กลับคืนมา(นิดหน่อยก็ยังดี ^^')
Then apply the kate designing eyebrow for shading your nose, This will give more dimension of the bridge of the nose..

Apply highlight on the face. I used Shiseido The makeup luminizing powder.


For blusher, I chose the NARS luster blush.
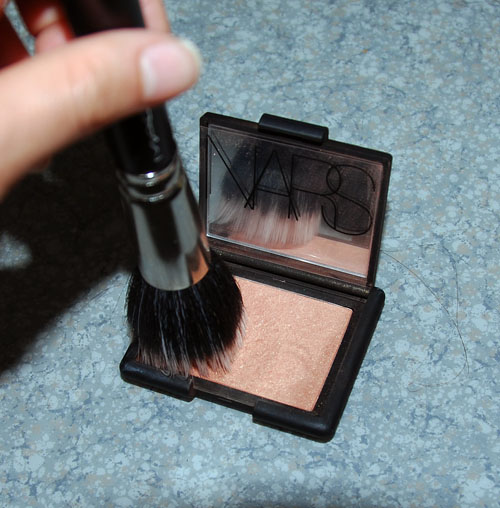
I kinda applied it as contouring.
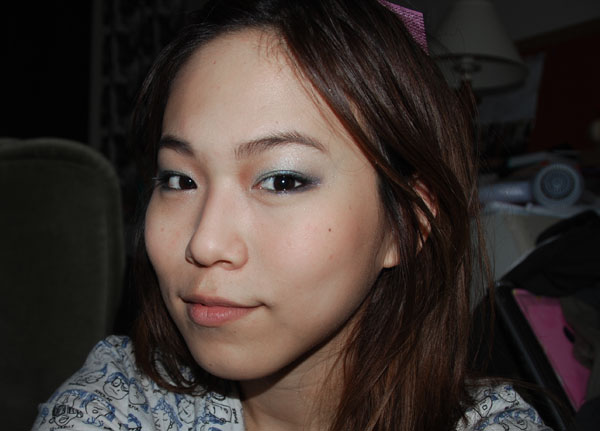

I kinda applied it as contouring.


And we're fnished ! Please don't mind my messy room in the background ^^
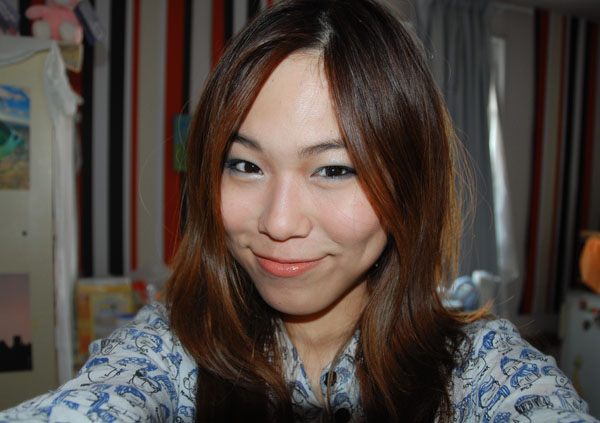
♥♥♥ Finish look ♥♥♥

♥♥♥ Finish look ♥♥♥
I added the Benefit High Beam as highlighing.
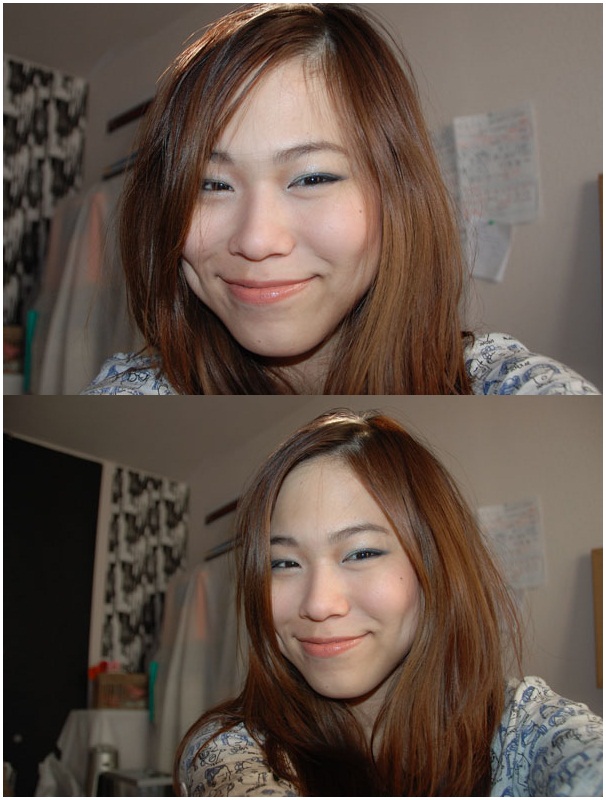

If you want more sunkissed look, add the NARS orgasm blush on your cheeks .. It will add a sweet on this look too

And yeah ... that's pretty much it for my 1st how to here... All photos above were taken by nikon D40x


Hope you guys like it :))

Ahh I love this look on you! The eye makeup is very pretty. Luster is one of my fave NARS blushes :D I LOVE the lipstick.. it definitely completes the look! great job <3
ReplyDeleteThis is such a stunning look on you, and the tutorial is great! Love the step by step pictures a lot!
ReplyDeleteI love the look with NARS orgasm blush the most - it super brightens your complexion. Luster is pretty too for a softer overall look. ;)
@Nic Nic Luster is my latest NARS blush and i'm totally into it too. I use it practically everday.
ReplyDelete@Jess thank you my English is not quite good so I think the photos step by step would help a lot, hehee
Love yr look^^esp. the color on yr lips^^I've Nars luster too but last time I tried to put it on, it didn't seem to work nicely like you did :D
ReplyDelete